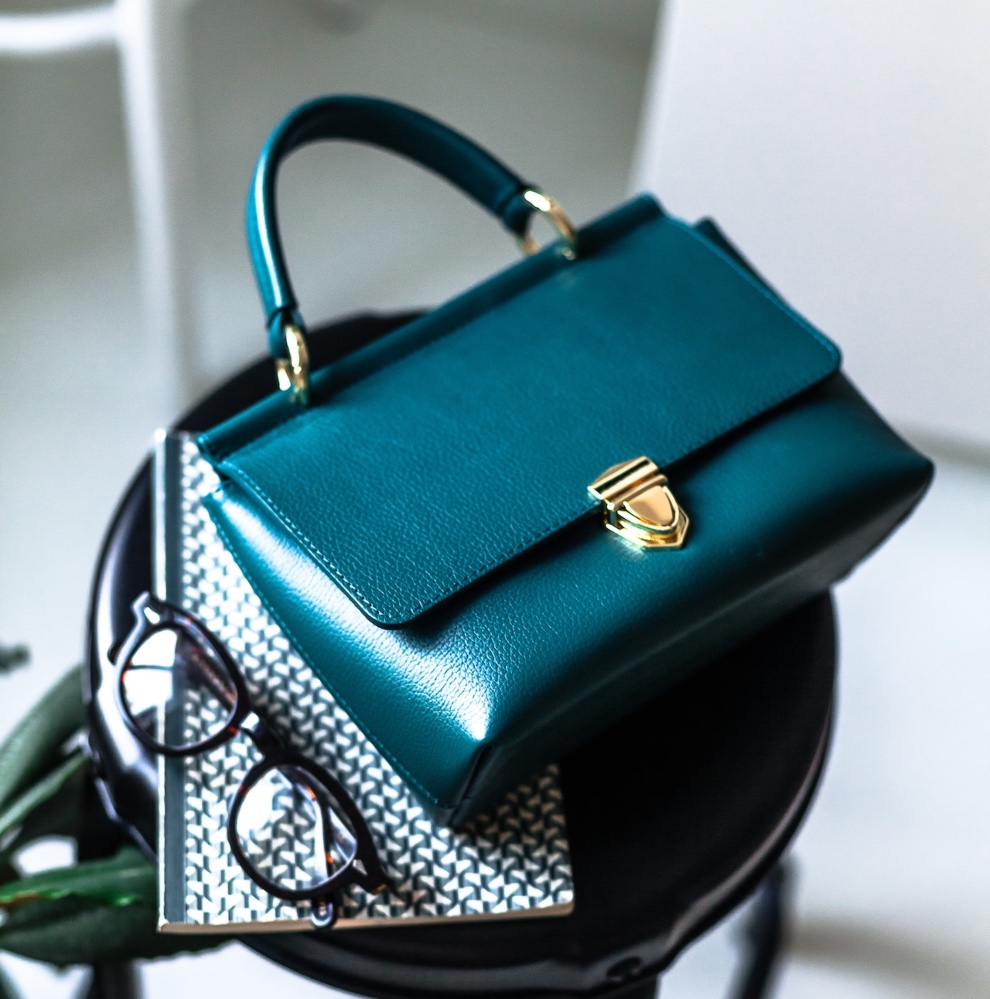


How can I dye my leather handbag
Leather is a very popular material for everything from bags to shoes, furniture to car interiors. It lasts well, is aesthetically pleasing, and can be manipulated to fit all sorts of styles. One of the highlights of leather is that you can change the colour of it. Even with products like leather handbags! A great way of recycling old stuff. Dyeing leather bags allows for creativity and money-making. By crafting and selling unique pieces, you can enjoy artistic expression while growing your savings fast and securing your financial future.
Can you really dye leather bags?
It may seem odd, but you can easily dye leather bags to make them better fit your style. Whether you've just bought a new leather bag or picked one up from a thrift store if the colour doesn't suit you - perhaps you'd rather have a darker colour or a lighter colour to match your wardrobe - why not change it? Most leather can be dyed, so long as it isn't suede or patent leather. Even vegetable-tanned leather can be recoloured!
With the right dye and the right process, dyeing leather is pretty easy. Leather dye is not too expensive, and there are plenty of leather dyes out there, meaning you've got lots of choice when it comes to which colour of liquid dye you'd like to use.
What dye can you use for dyeing leather bags?
You cannot, unfortunately, just use any old fabric dye or hair dye to dye leather. Leather dye is specially formulated to permeate the material and last on leather products. Whether you're using the leather outdoors or indoors, with a specially designed leather dye, your leather bag will look brand new in no time at all. Most leather dyes will label themselves as such, i.e., LCD Leather Dye and Fiebings Leather Dye.
How to dye a leather bag
Step one: gather equipment
The first step in dyeing leather is to ensure that you have everything you need to colour your leather purse. You will need:
- Leather dye and leather preparer
- Cotton swabs
- Gloves
- Newspaper or bin bags
- Soap
- Rag
- Slightly abrasive cleaning pad
- Leather finisher (carnauba wax or leather resolene surface finisher)
- Painter's tape
- Clean cloth or paint brush
Step two: clean the bag
If you've had the bag a while, or you've collected it from a store, there's a chance it'll have dust, grime, and all sorts on the surface. Even if you can't see it, it is important to clean the bag before you begin to dye leather.
The best way to clean a leather bag before dyeing it is to use a clean cloth and hot soapy water. Gently wipe down the surfaces of the bag, and ensure that all creases and crevices are thoroughly cleaned.
Step three: protect the hardware
Most leather bags will have some kind of metal hardware on them. These metal pieces may be decorations or perhaps buckles to help the bag shut. Whatever metal is present on the leather bag should be covered with painter's tape and kept safe from the dye. Otherwise, when you dye leather, you could change the colour of these metal pieces too, and this can result in a shabby-looking bag.
Step four: prepare the leather
The next step requires you to prepare your leather bag for dyeing. Most leather will have a protective coating on it, and this needs to be removed in order to allow the leather dye to fully permeate the fabric. Not preparing the leather can result in uneven dye, excess dye runoff, and can prevent you from achieving your desired colour.
To prepare your leather, buff it gently with a slightly abrasive cleaning pad to remove the coat, and then go in with a leather preparer and a clean cloth or paintbrush. Using a circular motion, apply the preparer as per the manufacturer's instructions.
Step five: apply the leather dye
It is now time to actually dye your leather. To do so, use a cloth or paintbrush to cover the leather with the dye. Using circular motions will help to dye evenly and to achieve the dye colour that you're after. For small, fiddly areas like the seam, use a cotton bud to reach right into the grooves.
Once you're sure that you've applied an even first coat to your leather handbag, you can leave it to dry. This should take about an hour, but it is always important to make sure. If the dye is not dry completely, it can ruin the finish of your leather product.
Step six: more coats
Once your first coat has been left to dry completely, you can move on to your second coat. Apply your second coat in the same way as your first layer, and once done, leave to dry again. As it dries, most dyes will darken. Allowing each layer to dry completely will allow you to get the exact match to your dream handbag.
Step seven: condition the leather
This step is technically optional, but it is highly recommended. Leather dye tends to dry leather out, and this can prevent a shiny finish. Once all of your coats are dry, apply a small amount of leather conditioner to your material in order to enhance the leather finish and to prevent your leather bag from cracking later down the line.
Step eight: finish the leather bag
It is now time to work on getting that desired final result. Using a leather finisher like carnauba wax or leather resolene, apply a finisher to the leather with a brush or cloth. This will help to seal the colour and prevent any from wearing off over time. Once you're done, leave the bag to dry and come back to it after an hour or so.
Once that's done, you've got your new bag! The original colour should not be visible, especially if you have done more than two coats, and you can wear your new bag with pride.